|
|
|
|
|
|
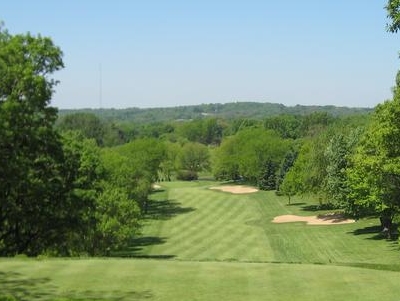
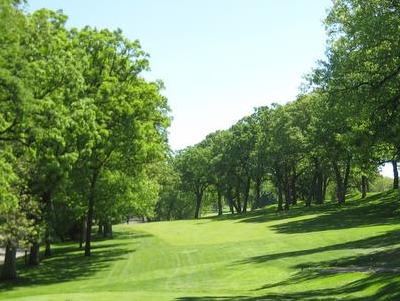
#1: The Trail
Straight away downhill Par 4. Not as easy as it looks.
Par 4
Green D23YDS, W 17YDS
Red 350 YDS
Gold 350YDS
White 367 YDS
Black 375 YDS
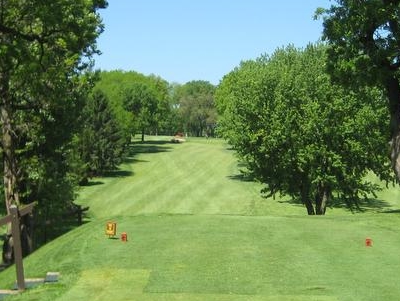
#2: Corn Mill
Short Par 4. Drive in fairway a must. Bi-level green can create problems.
Par 4
Green D25YDS, W 18YDS
Red 278YDS
Gold 301YDS
White 301YDS
Black 309 YDS
#3: War Drum
Downhill dogleg left. Drive in left side of fairway shortens hole.
Par 4
Green D26YDS, W 25YDS
Red 341 YDS
Gold 341 YDS
White 392 YDS
Black 398 YDS
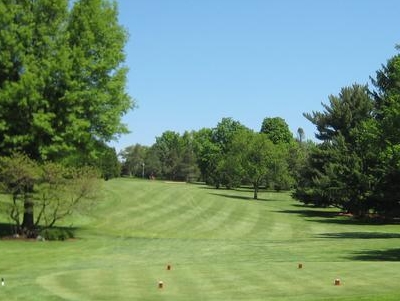
#4: Spirit Oak
Short Par 4 with blind second shot. Aim for birdhouse.
Par 4
Green D28YDS, W 27YDS
Red281 YDS
Gold 286YDS
White 310 YDS
Black 319 YDS
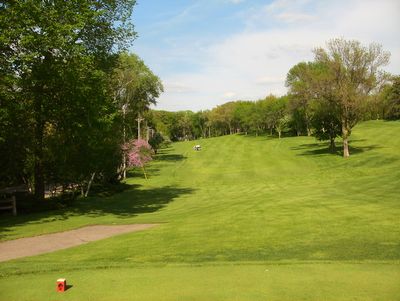
#5: Close By
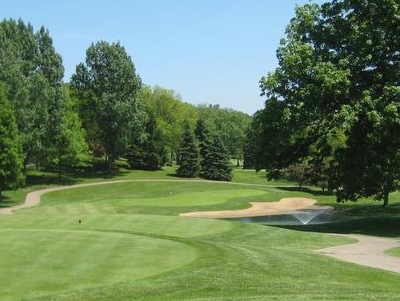
Beautiful downhill Par 3 with water and sand. Requires perfect iron shot to angled two tiered green.
Par 3
Green D35YDS, W 18YDS
Red 120 YDS
Gold 143 YDS
White 162 YDS
Black 188 YDS
#6: Little Elk
Tee shot to right side of this dogleg left leaves open shot to small green surrounded by mounds, sand and trees.
Par 4
Green D26YDS, W 18YDS
Red 305 YDS
Gold 305 YDS
White 345 YDS
Black 364 YDS
#7: Far Away
Name tells all. Three perfect shots a must to reach this long PAR 5. Beware of trains.
Par 5
Green 34DYDS, W 29YDS
Red 452 YDS
Gold 452YDS
White 562 YDS
Black 578 YDS
#8: Whirling Thunder
Deceptive hole. Might be toughest on front nine. Requires long drive in fairway and a deft second shot to a small bunkered green.
Par 4
Green D26YDS, W 18YDS
Red 319
Gold 360
White 373
Black 397

#9: Eagle's Nest
Uphill Par 4 to a small elevated green. Beware of nest of bunkers to right of green.
Par 4
Green D25YDS, W 16YDS
Red 319 YDS
Gold 329 YDS
White 329 YDS
Blue 347 YDS
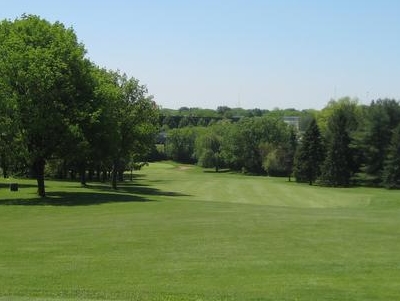
#10: The Sun
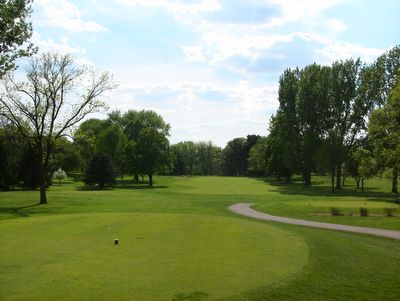
Great view of Lake Mendota. Avoid bunkers and Par is a distinct possibility.
Par 4
Green D22YDS, W 21YDS
Red 307 YDS
Gold 307 YSD
White 310 YDS
Black 310 YDS
#11: Tomahawk
Layup short of bunkers leaves a blind shot to a small green.
Par
Green D26YDS, W 16YDS
Red 250 YDS
Gold 262 YDS
White 262 YDS
Black 274 YDS
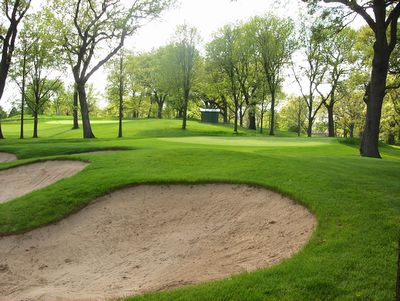
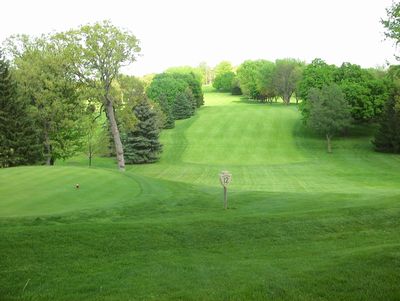
#12: The Goose
Beautiful Par 5. Good second shot will leave a short iron shot to an elevated green. Beware of bunkers left of green.
Par 5
GreenD26YDS, W 18YDS
Red 463 YDS
Gold 463 YDS
White 514 YDS
Black 526YDS
#13: Hammerstone
This Par 5 with a blind second shot can be reached in two. Time for a birdie!
Par 5
Green D26YDS, W 21YDS
Red 485 YDS
Gold 485 YDS
White 516 YDS
Black 526 YDS
#14: Arrow Head
Sharp dogleg left Par 4. Tee shot must clear corner to have open shot to green. Bunker right is not visible from fairway.
Par 4
Green D25YDS, W 16YDS
Red 214 YDS
Gold 245 YDS
Red 245 YDS
Black 274 YDS
#15: Bannerstone
Short dogleg left with out-of-bounds along entire left side. Green is driveable off the tee, so what the heck, go for it!
Par 4
Green D26 YDS, W 20 YDS
Red 249 YDS
Gold 261 YDS
White 261 YDS
Black 273 YDS
#16: Three Bears
Deceptive Par 3. Beware of large sloped green.
Par 3
Green D37YDS, W 19YDS
Red 133 YDS
Gold 158 YDS
White 158 YDS
Black 170 YDS
#17: Signature Hole - Walking Turtle
Very intimidating Par 4. Fairway slants severly left with out-of-bounds along left side. Par here is a great score.
Par 4/5
Green D24YDS, W 17YDS
Red 406 YDS
Gold 396 YDS
White401 YDS
Black 406 YDS
#18: My Home
Short uphill Par 3 with a blind tee shot. Putting downhill could cause problems. Good Luck!
Par 3
Green D31YDS, W 21YDS
Red 123 YDS
Gold 131 YDS
White 131 YDS
Black 141 YDS
|
|
|
|
|
|
TEE YARDAGE RATE/SLOPE
Black 6175 70.3/ 128 | White 5939 69.2 / 125 | Gold 5457 67.1/ 121 Men 71.8/ 127 Women | Red 5227 70.2 / 123